
⚡ Key takeaways
- Hermes Desktop and the CLI share the same config — what you set in one applies to the other.
- Settings → Model sets your global default. Set it to a free model as a safety net — if something breaks, there’s always an AI that responds.
- The composer model picker (left of the microphone) lets you choose a different model per session without touching your default.
- This article is a map, not a how-to. The actions themselves are covered in the articles that follow — this tells you where to find things when you need them.
You’ve installed Hermes and had your first conversation. The next articles in this series will ask you to open settings, add a provider, set a working directory, or switch a model. This article is the map for those moments — where everything in Hermes Desktop lives, so you’re not hunting around when a later article says “go to Capabilities.”
Read it once, then refer back when you need it. There’s nothing to configure here.
First: the Windows SmartScreen warning
On Windows, the Hermes Desktop installer is not code-signed. That means when you first run it, Windows SmartScreen shows a warning: “Windows protected your PC”. It looks alarming, but it’s expected. Click “More info”, then “Run anyway” to proceed. This is a one-time thing — once installed, the app runs normally without any further warnings.
The five areas of the screen
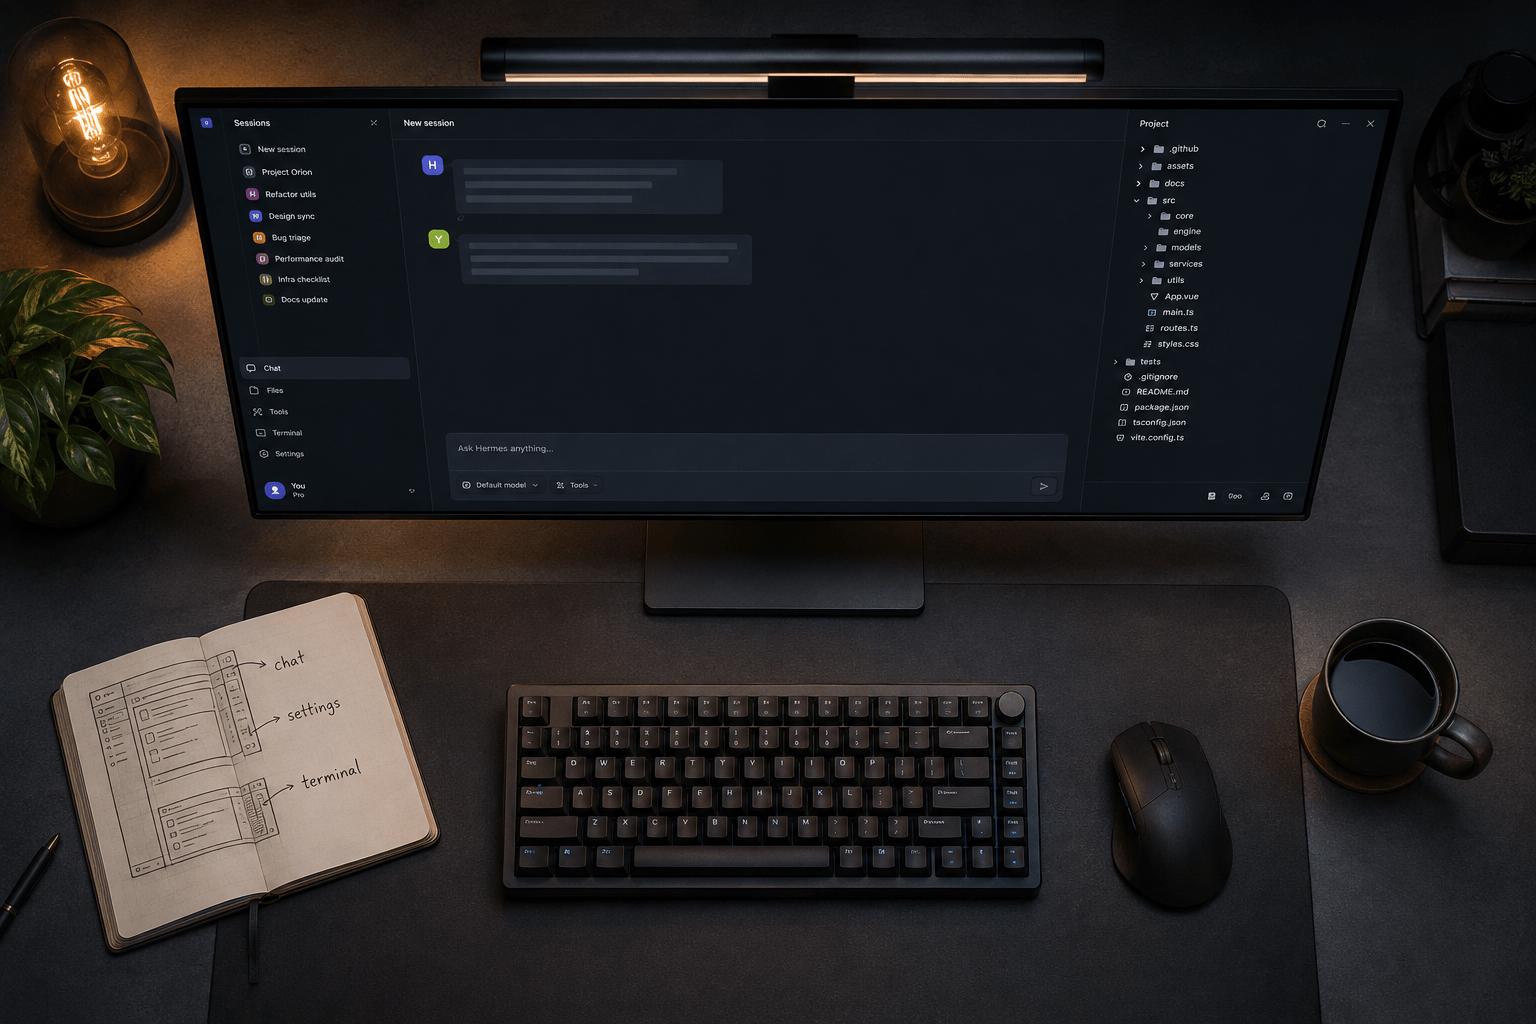
Hermes Desktop is built around a chat-first window with a left sidebar for navigation. Here’s where everything lives at a glance:
| Area | Where | What it is |
|---|---|---|
| Chat | Centre panel | Where you type and read — the main conversation area |
| Sessions & bots | Left sidebar | Your conversation history, plus bot profiles if you use them |
| Files & projects | Right sidebar | File browser for the working directory the agent is using |
| Terminal | Bottom panel | A real shell — open with Ctrl+`, hide the same way |
| Settings | Top bar → Open settings (or Ctrl+,) | All configuration, providers, models, tools |
The left sidebar also has dedicated entries for Capabilities (skills, tools, MCP), Scheduled jobs (cron), Messaging (Telegram and other gateways), and Artifacts (files and images your agent has generated).
Settings: what’s where
Open settings via the top bar or Ctrl+,. The left column of settings is where you navigate. Here’s what each section covers:
| Settings section | What you find there |
|---|---|
| Model | Your global default model — the starting point for every new chat, cron job, and subagent |
| Providers | AI providers, accounts, and API keys — the main place to connect new models |
| Workspace | Working directory and repository discovery for the Projects sidebar |
| Capabilities | Skills, tools, and MCP servers — also reachable from the left sidebar |
| Memory & Context | Persistent memory on/off, and the Memory Graph (Star Map) |
| Safety | Command approval settings and security rules |
| Voice | Speech-to-text and text-to-speech providers and settings |
| Appearance | Theme, font size, light/dark mode (quick toggle: Shift+X), VS Code themes |
| Advanced | Quick Entry (global hotkey composer), keep computer awake for long runs |
| Gateways | Telegram and other messaging gateways, plus remote backend connections |
| Tools & Keys | API keys for external tools (Brave Search, ElevenLabs, etc.) with on/off per tool |
| Keyboard Shortcuts | Remap almost any keybinding in the app |
| Plugins | Desktop plugins and Bot Mode settings |
| About | Version info — and the uninstall options in the Danger zone |
Per-profile scope
If you have more than one profile, most settings pages show an Applies to chip at the top. It tells you which profile you’re currently editing — and lets you edit another profile’s settings without switching the whole app. With only one profile, this chip is hidden.
Providers: accounts vs. API keys
When you open Settings → Providers, you’ll see three sub-sections:
- Accounts — for providers that use browser login (OAuth). This is how Nous Portal works: you click, a browser window opens, you log in, and the provider is connected. No key to copy.
- API keys — for providers where you paste a key directly, like DeepSeek or Anthropic. Copy the key from the provider’s dashboard, paste it here.
- Custom Endpoints — for self-hosted or custom model endpoints.
Some providers use both routes: you log in via Accounts, and from within that account you generate an API key that you then also paste under API keys. If you’re unsure which route a provider uses, start with Accounts — if there’s a login button, use it.
The model setting: global default vs. per-session
This is the part that trips people up most, so it’s worth being explicit.
Settings → Model: your global default
This is the model that every new chat, every cron job, and every subagent starts from. It’s your baseline. Set this to a free model. Nous Portal gives you access to free models, and having one as your default means that if an API key expires, a credit runs out, or anything breaks with a paid provider, the agent still responds. A free model doing something is better than a paid model doing nothing.
The composer picker: choose per session
Left of the microphone icon in the chat composer, there’s a model picker. This is where you choose a different model for the current session without changing your global default.
- If you’ve only set up the default, you’ll see that default here.
- Once you’ve added more providers and keys, the picker shows all available models grouped by provider — and you can switch freely between them per session.
- The selection is sticky: it remembers your last choice across restarts. But it never writes back to your global default — switching profiles resets it to that profile’s default.
- One caution: switching models mid-conversation resets the prompt cache, so the next message costs a bit more. For long conversations, opening a fresh chat on the new model is often cheaper.
Capabilities: skills, tools, and MCP
Open Capabilities from the left sidebar. You’ll see three tabs:
- Skills — 150+ skills with an on/off toggle per skill, a usage count, and tags. A search bar helps find specific ones. This is also where you choose which profile’s skills you’re viewing.
- Tools — the active tools the agent can use, with on/off status per tool.
- MCP — MCP server integrations, for connecting external tools and data sources.
Tools and MCP servers can also be managed from Settings → Tools & Keys, where you can also add API keys for specific tools (like Brave Search or ElevenLabs).
The terminal inside the app
Hermes Desktop has a real terminal built into the bottom panel. Open it with Ctrl+`, hide it the same way. Multiple terminals stack in a tab rail.
Some later articles in this series mention running a command. You can do that here — in the built-in terminal — instead of opening a separate terminal window. The terminal runs in the same working directory the agent uses, so what you type here is what the agent sees.
Shells stay alive when you hide the panel. Closing the panel doesn’t kill the session — your terminal and any running processes stay mounted until you explicitly close that tab.
Cheat-sheet: article says X, look here
The articles that follow will tell you to do things without always spelling out exactly where. Here’s the translation:
| When an article says… | Open this in Desktop | CLI alternative |
|---|---|---|
| Set the working directory | Settings → Workspace → Working Directory | hermes config set terminal.cwd |
| Add a provider or API key | Settings → Providers → Accounts or API keys | Edit ~/.hermes/.env |
| Choose a model | Composer picker (left of microphone) | hermes model |
| Set the default model | Settings → Model | hermes config set model |
| Turn a skill on or off | Capabilities → Skills (toggle) | hermes skills list |
| Add an MCP server | Capabilities → MCP | Edit config.yaml |
| Set up Telegram | Settings → Gateways | hermes gateway setup |
| Add a scheduled task | Scheduled jobs (left sidebar) → + button | /cron add in chat |
| Open a terminal | Bottom panel → Ctrl+` | Any terminal window |
| Check memory settings | Settings → Memory & Context | hermes memory |
First-time tip from the docs
When exploring settings for the first time, check these three in order: Model (set your free default), Memory & Context (confirm memory is on), Gateways (if you want Telegram or a remote backend). Those three determine what the agent costs, what it remembers, and where it runs.
One more thing worth knowing
The Desktop app and the CLI share the same configuration entirely. The same config.yaml, the same .env secrets file, the same skills, the same memory. If you set a working directory in Desktop, it’s set in the CLI too. If you install a skill from the CLI, it appears in Desktop. You never have to configure the same thing twice, and you can switch freely between interfaces — start a session in Desktop, resume it in the terminal, and everything is still there.
With that map in hand, you’re ready to put the agent to work. Before we dig into configuration, the next article shows four real things I use my agent for — so you can see what it actually does before setting up more. This article is part of the Agentic AI series — if you haven’t installed Hermes yet, start with the Windows 11 install guide.

John Lock
Liked this? There's more where it came from.
Get our digest — articles worth your time, no spam, unsubscribe in one click.
Subscribe to Factnetize →



[…] the next article, a quick map of Hermes Desktop — where every setting, panel, and control lives — so the articles that follow never leave you […]