Key takeaways
- A refurbished office PC (Intel 7th gen or newer) makes a quiet, reliable budget media center PC for under $100.
- One box does two jobs: Kodi for your own movie files, and the streaming apps (Netflix, Prime, Disney+…) for everything else — you’re not locked into one ecosystem like a streaming stick.
- For smooth 4K you only need three things: hardware HEVC decode, HDMI 2.0 (or a DisplayPort adapter), and HDCP 2.2.
- The biggest pitfall with older projectors is the interlaced 1080i mode — always pick progressive 1080p.
- Install Kodi from kodi.tv, not the Microsoft Store, so it can reach your drives.
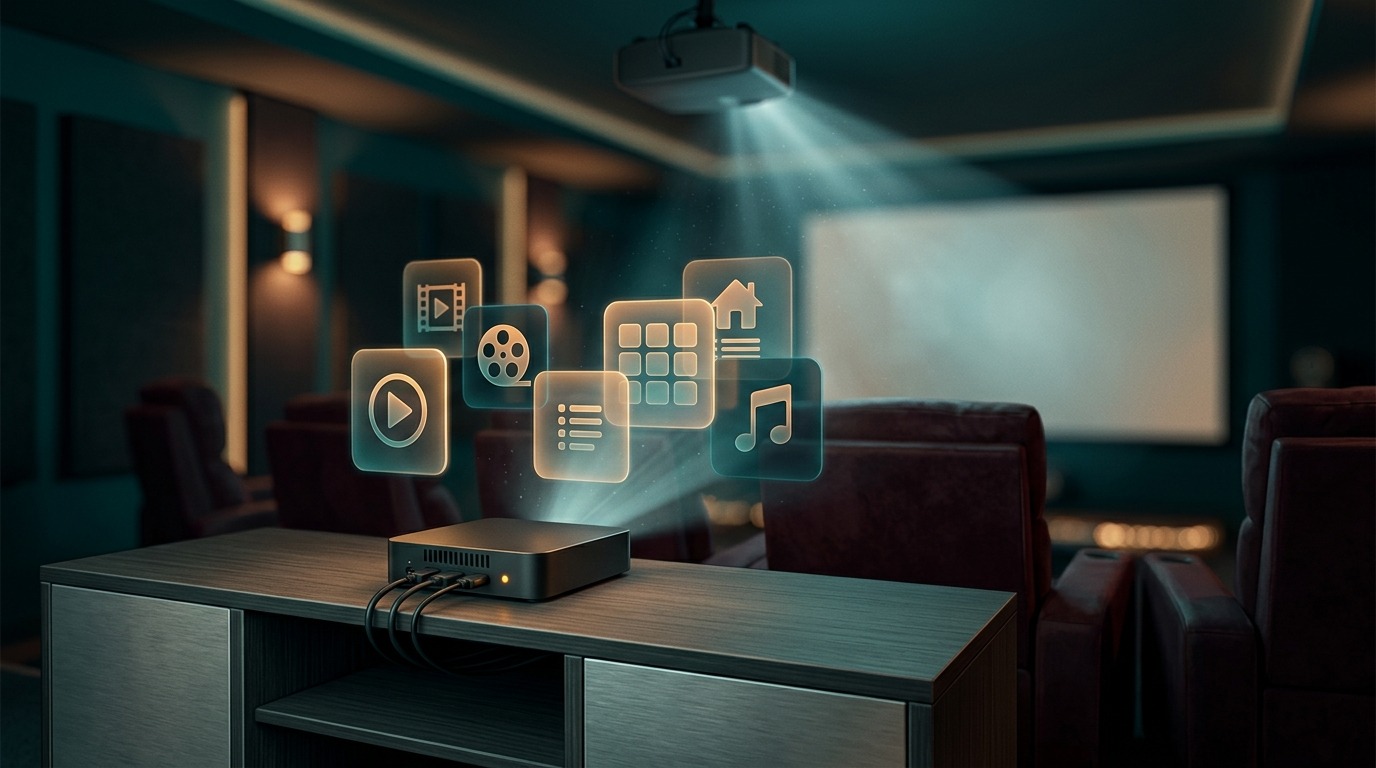
Want a budget media center PC without spending a fortune? I built one for under $100 from a refurbished office PC — and it runs Kodi, plays local 4K files, connects to a projector, and streams Netflix and Prime Video. The trick most guides miss: this isn’t just a “Kodi box.” It’s a full media center that plays your own collection and runs any streaming app you like — something a locked-down streaming stick can’t do. This is the complete guide: what to buy, how to set it up, and the pitfalls I hit so you don’t have to.
1. Choosing the hardware for your media center PC
Why a refurbished office PC is the best base
Enterprise desktops are the best-kept secret in home theater. Typically, they’re retired after 3-5 years of light use, refurbished, and sold for a fraction of their original value. They’re quiet, reliable, and — crucially — their CPUs have hardware video decoding built in, which is what lets a modest chip play 4K without breaking a sweat.
For example, my build is an HP ProDesk 400 G6 SFF with an Intel Core i3-9100 (9th gen, 2019, 4 cores/4 threads, Intel UHD 630 graphics). Under $100 including shipping, complete with Windows 11.
The 4K checklist (what actually matters)
Most guides overcomplicate this. In practice, for smooth 4K playback you need only three things:
- Hardware HEVC (H.265) decode — without it, 4K stutters. Any Intel 7th gen or newer, or AMD Ryzen 2000+ with Vega graphics, has this built in.
- HDMI 2.0 (or DisplayPort 1.2+) — needed for 4K@60Hz. HDMI 1.4 caps at 4K@30Hz. Check your machine’s actual ports: many small-form-factor models ship with DisplayPort + VGA only. Mine happens to have native HDMI. If yours doesn’t, an active DisplayPort-to-HDMI 2.0 adapter with HDCP 2.2 (~$15) solves it.
- HDCP 2.2 — required for 4K Netflix, Disney+, and Prime Video.
| Platform | 4K HEVC hardware decode | Good media center base? |
|---|---|---|
| Intel 6th gen (Skylake) | 8-bit only; 10-bit is hybrid (partly CPU) | Marginal — skip it for 10-bit/HDR |
| Intel 7th gen and newer | Full 8-bit & 10-bit HEVC + VP9 | Yes — the sweet spot |
| AMD Ryzen 2000+ (Vega) | Full HEVC + VP9 | Yes |
Buying checklist (refurbished)
- Intel 7th gen+ or AMD Ryzen 2000+ — guarantees 4K HEVC
- SFF or Mini form factor — compact enough for a TV cabinet; usually sits flat or upright
- At least 8 GB RAM — 4 GB is tight with Windows 11
- Buy from a shop, not a private seller — warranty and return rights matter
Model families worth searching: HP ProDesk/EliteDesk G4–G6, Dell OptiPlex 5050/7050, Lenovo ThinkCentre M710/M720. Typical price: $80–160 on eBay, Amazon Renewed, or your local refurbisher.
2. Connecting to a projector or TV
HDMI first, adapters as plan B
If your media center PC has native HDMI, just use it — one cable, no conversion. If your machine lacks HDMI entirely, fall back to a DisplayPort-to-HDMI adapter instead. Keep the cable as short as practical; projector runs are usually fine up to ~10 m (33 ft) with a good HDMI 2.0 cable.
The 1080i trap (projector owners, read this)
This one bit me hard. Windows offered an interlaced mode (~59.94 Hz / 1080i) for my projector, and it looked fine at first — but playback had constant judder and sluggishness, especially in Prime Video and slow camera pans. The fix: set the output to 1920×1080 @ 60 Hz progressive (1080p) in Windows display settings. As a result, progressive 60 Hz is noticeably smoother.
My projector is a Panasonic PT-AE2000 — a 2007 1080p model that only accepts up to 1080p, so that’s the ceiling regardless of what the PC could push. The rule is simple: whenever you (re)install Windows or connect a new display, open Settings → System → Display → Advanced display settings, check which modes the screen offers, and always pick the progressive option — never the interlaced one.
Old projectors and refresh rate
Older projectors (mine has an HDMI 1.3 input and a 60 Hz panel) don’t reliably support 24 Hz. Kodi’s “adjust display refresh rate on start/stop” simply falls back to 60 Hz — which is perfectly fine. So don’t fight it; let the projector run at its native 60 Hz.
3. Installing and setting up Kodi
Download Kodi from kodi.tv — not the Microsoft Store
However, the Microsoft Store version of Kodi runs in a sandbox, which makes it harder to reach network drives and USB storage. Download the installer directly from kodi.tv — it runs with full permissions. Updating is just installing the new version over the old one — your library and settings are preserved.
- Download from kodi.tv, install, and launch it.
- Raise the settings level: click the gear icon, then click the label at the bottom-left until it reads Expert. Several options below are hidden at lower levels.
- Add your media: Videos → Files → Add videos… → Browse → pick your drive or folder → OK → give it a name. Finally, set the content type so Kodi scrapes posters and info.
Make it a true “set-top box” (boot straight to Kodi)
- Auto-start Kodi: put a shortcut to Kodi in the startup folder — press
Win+R, typeshell:startup, and drop the shortcut in there. - Auto-login Windows:
Win+R→netplwiz→ uncheck “Users must enter a user name and password” → confirm your password. (If the checkbox is missing, disable Windows Hello in Settings → Accounts → Sign-in options first.) - Full screen: Kodi → Settings → System → Display → Full screen.
Subtitles
Install a subtitle add-on from Kodi’s repository — OpenSubtitles.com (huge library, free account) is the usual pick. After installing it, go to Settings → Player → Language and set your preferred subtitle language and default subtitle service. It will then search subtitles for every movie you play.
Check that hardware decoding is actually working
Of course, this is the payoff of picking the right chip. Open Task Manager → Performance → GPU while a film plays and watch the “Video Decode” graph. On my build a 1080p file sat around 15% CPU and 18% GPU — the GPU quietly doing the decode while the CPU loafs. Worth knowing: that CPU figure is measured against the chip’s base clock while it had already throttled itself down to 1.76 GHz to save power, so the real spare capacity is even bigger than 15% suggests. In Kodi you can also press O during playback for an on-screen codec overlay.
4. Adding your streaming apps
Here’s where a media center PC beats a locked-down streaming stick: you install whatever you want. Instead, grab the Windows apps for Netflix, Prime Video, Disney+, YouTube — whatever you subscribe to — from the Microsoft Store, or just use them in the Edge browser. In other words, one box: your own files in Kodi and every service you pay for, with nothing dictating which apps you’re allowed to run.
Naturally, a 9th-gen i3 with UHD 630 handles streaming with ease. A couple of real-world notes:
- Netflix app: runs great — hardware decode, smooth playback.
- Prime Video: can feel sluggish even when the hardware is fine. It didn’t need it on my build, but if yours drags: reset the app (Settings → Apps → Installed apps → Prime Video → Advanced options → Reset), or run Prime in Edge instead.
- Streaming apps don’t switch refresh rate automatically the way Kodi does. If you see judder in an app, it’s usually the interlaced-vs-progressive setting from Part 2, not the app.
- About 4K streaming: on Windows, 4K from the streaming apps has extra requirements (the right app, HDCP 2.2 end-to-end, and a 4K display). On a 1080p projector you’ll simply get 1080p — and the PC is 4K-ready for when you upgrade the screen.
5. Storage: reusing your old drives
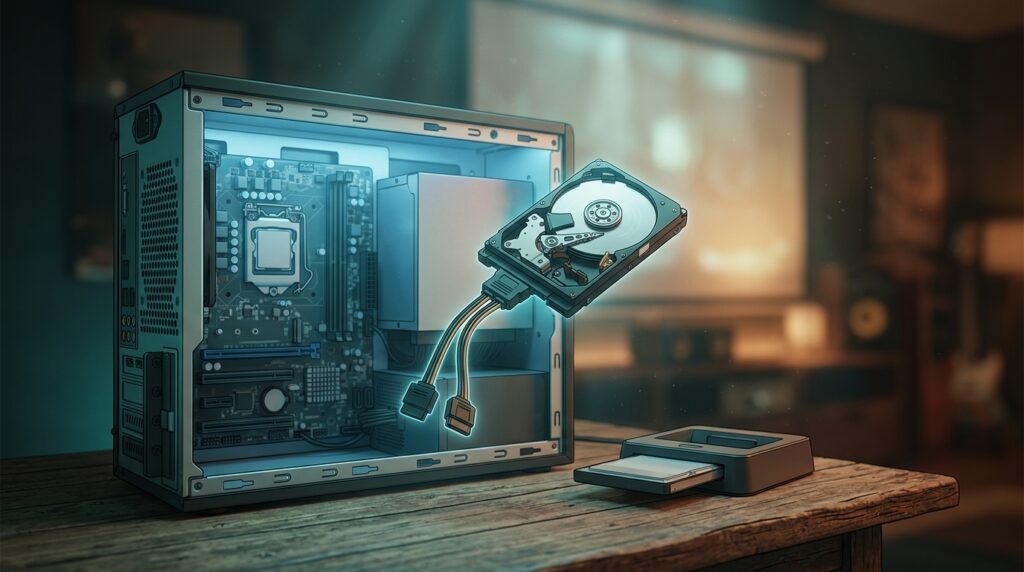
Got a pile of old hard drives full of movies? The easy route needs no case surgery: a USB-to-SATA adapter cable (about $9) or a docking cradle turns any 2.5″ or 3.5″ drive into external storage you point Kodi at.
The one thing to get right: a 3.5-inch drive needs 12V, which a bare USB cable doesn’t provide. Either pick a cable that ships with a 12V power adapter, or use a powered dock. 2.5″ laptop drives run fine on USB power alone. In my case I already had a cradle, so I just plugged my drives into that.
Want the drives inside the case instead, and want Kodi to never lose track of them when you swap disks? That’s a topic on its own — internal SATA installation, power splitters, and fixed drive letters are covered in the dedicated follow-up in this series (below).
Going further: the rest of the series
This build does more than the basics. Two companion guides go deeper:
- Add your old hard drives to a mini-PC HTPC — installing drives internally (SATA data vs power, the 12V catch, power splitters), USB cradles, fixed drive letters so Kodi’s library stays intact, and fixing drives that drop off or spin down.
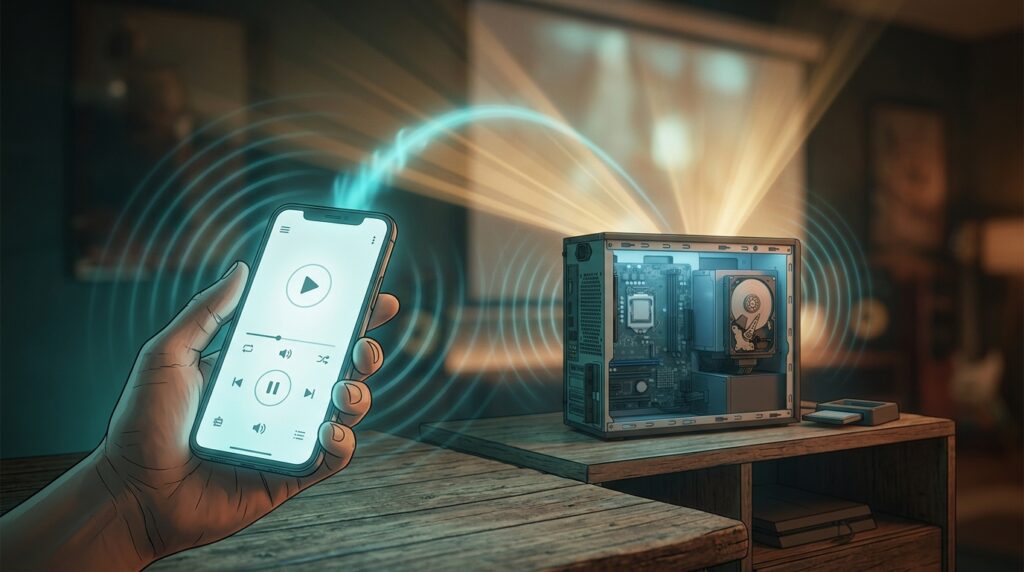
- Control Kodi from your phone and TV — setting a static IP, the official Kore remote app, and sharing your library to a smart TV over UPnP/DLNA.
Frequently asked questions
Is an Intel i3 powerful enough for 4K Kodi?
Yes. That’s because 4K playback leans on the GPU’s fixed-function video decoder, not raw CPU power. On a 9th-gen i3 the CPU barely wakes up during playback — the integrated graphics does the heavy lifting.
Do I need HDMI 2.0 for a 1080p projector?
No. In fact, 1080p runs over almost any HDMI version. HDMI 2.0 only matters if you’re driving a 4K display at 60Hz. For an older 1080p projector, a standard HDMI cable is fine.
Can I watch Netflix in 4K on this PC?
On Windows, 4K streaming carries extra requirements — a compatible app, HDCP 2.2 across the whole chain, and a 4K display. On a 1080p projector you’ll get a crisp 1080p stream, and the hardware is ready for 4K once you upgrade the screen.
Kodi or Plex — which should I use?
Ultimately, for a single box plugged into one screen, Kodi is simpler and plays everything locally. Plex, on the other hand, makes more sense when you want to stream your library to lots of devices around the house from a central server. You can even run both.
Final checklist
- ✅ Refurbished SFF PC, Intel 7th gen+ / Ryzen 2000+ ($80–160)
- ✅ HDMI 2.0 (native) or an active DP→HDMI adapter
- ✅ 1080p progressive output (never interlaced)
- ✅ Kodi from kodi.tv (not the Store), settings level on Expert, boot-to-Kodi configured
- ✅ Subtitle add-on with an account
- ✅ Streaming apps installed from the Microsoft Store or Edge
- ✅ A USB-to-SATA cable (~$9) or cradle for your old drives
Total cost: under $100 for the PC. Overall, that’s a complete home theater setup for less than a year of a streaming-box subscription — and it plays your own files and every service you subscribe to, on your terms. Enjoy the movies!

John Lock
Liked this? There's more where it came from.
Get our digest — articles worth your time, no spam, unsubscribe in one click.
Subscribe to Factnetize →