Key takeaways
- On a small-form-factor PC, the SATA data port usually isn’t the problem — power is.
- A slimline DVD power lead only carries 5V; a 3.5″ hard drive needs 5V and 12V, so power it from the SSD’s SATA lead via a cheap 1→2 splitter.
- Prefer no case surgery? A USB-to-SATA cable or cradle gets you there in minutes.
- Set fixed drive letters so Kodi never loses its library when you swap disks in a cradle.
- A drive that drops off and returns is almost always spin-down, not a USB fault.
This guide is part of the Build a budget media center PC series. The main guide covers the easy USB route to storage in a sentence or two — but if you want to add storage to a mini PC properly, this one goes all the way: installing a drive inside a mini-PC, the power catch nobody warns you about, and how to keep Kodi’s library rock-solid when you swap disks.
1. Two ways to add storage to a mini PC
There are two ways to add storage to a mini PC like this HTPC. Internally, in a spare drive bay — tidy, nothing hanging off the machine, but you’re limited by the case and the power supply. Externally, over USB — flexible, no surgery, and you can add as many drives as you like. Neither is “better”; it depends on how many drives you have and whether you want them hidden. I’ll cover both.
2. Installing a hard drive inside the case
The SATA reality check: data is easy, power is the catch
Here’s what nobody tells you about small-form-factor PCs: the SATA data ports are usually fine — the power connectors are the bottleneck. On my HP ProDesk 400 G6 SFF the motherboard has three SATA data ports: one for the SSD, one for the DVD drive, and one free. Plenty of data connectors.
Port count varies by model, so check your own board — some SFFs have only two, both already used by the SSD and DVD. If yours is full, unplug the DVD drive (you won’t miss it on a media box) to free a data port.
The 12V catch
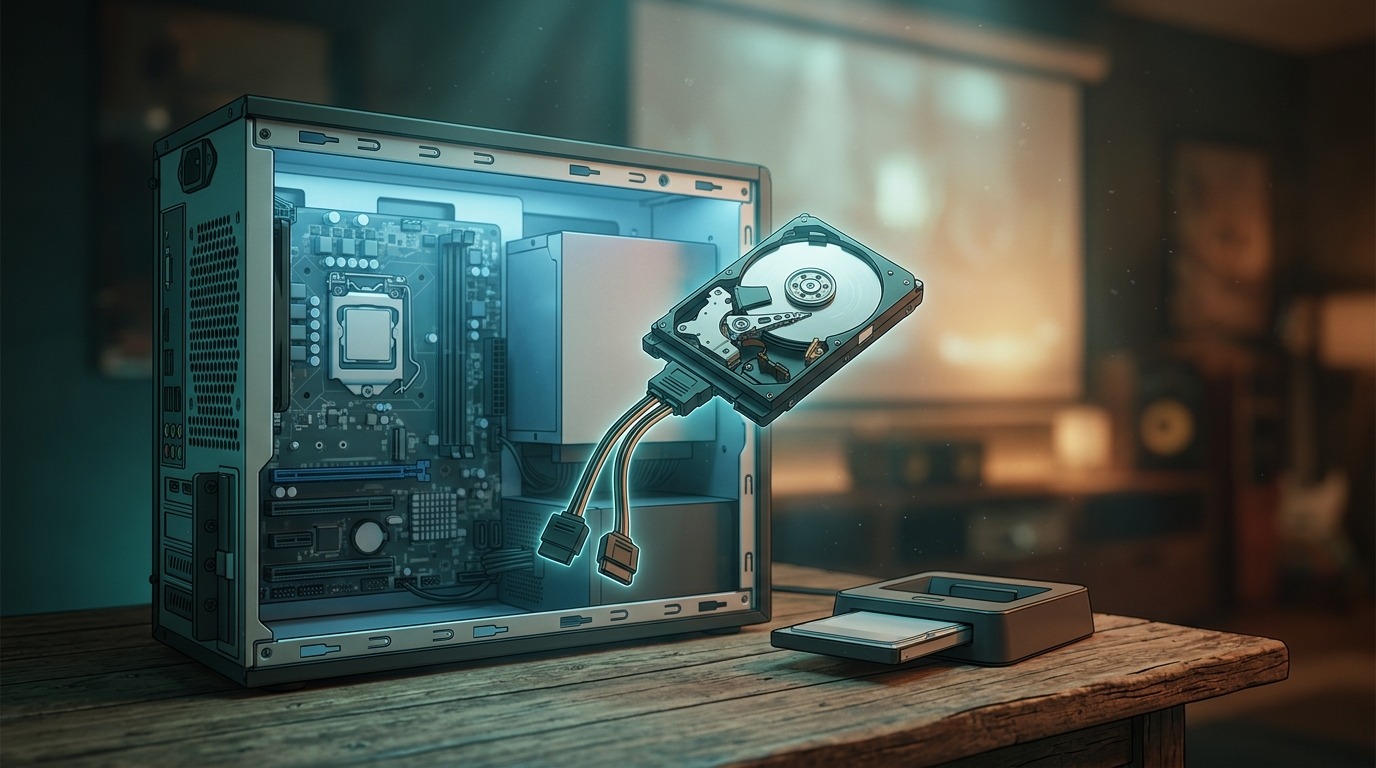
However, the real problem is power. The power supply simply doesn’t ship with a spare drive-power connector, and the slimline DVD lead you might hope to borrow only provides 5V. A 3.5-inch hard drive needs both 5V and 12V — the 12V spins the motor. Try to run it off a 5V-only lead and it won’t spin up.
The fix is a SATA power splitter (1 power in → 2 power out), a couple of euros/dollars:
- Find the wide SATA power lead already feeding your SSD — that one carries both 5V and 12V.
- Unplug it, plug in the splitter, then run one branch back to the SSD and the other to your new hard drive.
- Connect the drive’s SATA data cable to the free port on the motherboard.
A small 180W supply handles one extra hard drive without complaint. Mount the drive in the bay, close it up, and Windows will see it on the next boot.
3. The easy route: USB cable or cradle
Don’t want to open the case at all? A USB-to-SATA adapter cable (around $9) or a docking cradle turns any bare drive into external storage — no brackets, no splitters.
One thing to get right: a 3.5-inch drive needs 12V, which a bare USB cable can’t supply. So either buy a cable that ships with its own 12V power adapter, or use a powered cradle/dock. 2.5-inch laptop drives run happily on USB power alone — nothing extra needed. Plug it in, and it appears in Windows like any other drive.
4. Fixed drive letters (so Kodi keeps its library)
If you swap disks in and out of a single cradle, this step saves you a world of pain. In fact, Windows assigns a letter to the disk — by its unique volume signature — not to the cradle slot. Set it once and Windows remembers it for that disk forever, even through the same cradle.
- Open Disk Management:
Win+X→ Disk Management (orWin+R→diskmgmt.msc). - Right-click the disk → Change Drive Letter and Paths → Change → pick a letter.
- Use high letters (T:, U:, V:) so a random USB stick never steals them.
- Give each disk a label (FILMS1, FILMS2…) so you know which is inserted.
- In Kodi, add a separate source per drive letter — for example T:\Films and U:\Films.
One critical rule: never run Kodi’s “Clean library” while a cradle drive is disconnected. Kodi will think those files are gone and purge them from your library. Only clean the library with every drive connected.
5. Fixing a drive that drops off or spins down
A drive that disappears (sometimes with a “beep”) and comes back a while later is almost never a broken cable — it’s the hard drive spinning down to save power. If it happens around the 20-minute mark, that’s the giveaway.
Fix it in this order:
- Stop Windows powering the disk down: Control Panel → Power Options → Change plan settings → Change advanced power settings → Hard disk → Turn off hard disk after → 0 (Never), on the active plan.
- Disable USB power saving: in the same advanced settings, set USB selective suspend to Disabled. Then in Device Manager, open each USB Root Hub → Power Management tab → untick “Allow the computer to turn off this device to save power”. Do the same on the drive under Disk drives.
- If it still drops off at a fixed interval: the cradle has its own built-in sleep timer that Windows can’t touch. A small “keep-alive” utility (or a script that writes a tiny file to the drive every few minutes) stops it nodding off.
Frequently asked questions
Can I add a 3.5-inch drive without opening the case?
Yes — use a powered USB cradle or a USB-to-SATA cable that includes a 12V adapter. The 12V is the part a bare USB cable can’t provide, which is why 3.5″ drives need external power and 2.5″ drives don’t.
Is USB fast enough to play movies, even 4K?
Easily. USB 3.0 has far more bandwidth than any single video file needs, so Kodi plays from a USB drive exactly as smoothly as from an internal one.
Will my drive letters change if I plug into a different USB port?
No — once you assign a fixed letter in Disk Management, Windows ties it to that specific disk’s signature, not the port or cradle slot. It comes back on the same letter wherever you plug it in.
Next in the series: Control Kodi from your phone and TV — the Kore remote app and sharing your library to a smart TV. Or head back to the main media center PC guide.

John Lock
Liked this? There's more where it came from.
Get our digest — articles worth your time, no spam, unsubscribe in one click.
Subscribe to Factnetize →