⚡ Key takeaways
- You can make a dull or noisy webcam look far better in Microsoft Teams for free, using OBS Studio and its built-in virtual camera — no new hardware required.
- Sharpness and lighting are fixed with two OBS filters: Sharpen and Color Correction.
- Flickering under office or LED lighting is not an OBS problem — it is fixed in the webcam’s own driver settings, by setting Anti Flicker to 50 Hz in Europe (60 Hz in North America).
- This works on any GPU. NVIDIA Broadcast’s AI enhancement needs an RTX card, but OBS does not.
If your webcam looks dull, blurry, or noisy in Microsoft Teams, you do not need to buy a new camera. With OBS Studio — free and open source — and its built-in OBS Virtual Camera, you can noticeably improve your webcam image in real time on Windows 11, even on a modest GPU.
This guide shows you exactly how to set up OBS, add image-enhancing filters, fix flickering at the driver level, and use the virtual camera in Teams. Everything here was worked out hands-on, including the flicker fix that is easy to miss because it does not live in OBS at all.
What you need
- Windows 11
- OBS Studio (free: obsproject.com)
- Your current webcam — any model
- Microsoft Teams
- About 15 minutes
You do not need an RTX card. NVIDIA Broadcast’s AI webcam enhancement only works with RTX GPUs, but OBS with manual filters runs fine on any graphics card — integrated or older dedicated cards included.
Step 1: Install OBS Studio
- Go to obsproject.com and download OBS Studio for Windows.
- Run the installer and follow the prompts.
- Launch OBS Studio after installation.
Step 2: Add your webcam as a source
- In OBS, look at the Sources box at the bottom.
- Click the + button.
- Choose Video Capture Device.
- Name it something like “Webcam” and click OK.
- In the Device dropdown, select your actual webcam (for example “Logitech C920” or “Integrated Webcam”).
- Click OK.
You should now see your webcam feed in the OBS preview window. Keep this Video Capture Device dialog in mind — you will come back to it later for the flicker fix, via the Configure Video button.
Step 3: Add filters to improve image quality
To make your image sharper and better lit:
- In the Sources list, click your Webcam source.
- Click the Filters button below the Sources list.
- In the Audio/Video Filters window, click the + button under Video Filters.
The two filters that do most of the work:
| Filter | What it fixes | Where to start |
|---|---|---|
| Sharpen | Soft, slightly blurry detail | 0.1–0.3 — go gently, too much looks crunchy |
| Color Correction | Dark, flat, or washed-out image | Nudge brightness, contrast, gamma and a touch of saturation |
Sharpen
Click + → choose Sharpen, name it “Sharpen”, and click OK. Adjust the value between roughly 0.1 and 0.3. Overdoing it introduces harsh edges and noise, so increase it slowly while watching the preview.
Color Correction
Click + → choose Color Correction and name it “Color Correction”. Then adjust:
- Brightness — raise slightly if the image is too dark.
- Contrast — increase a little for more definition.
- Gamma — fine-tune the mid-tones.
- Saturation — a small increase makes skin tones look more natural.
Optional extra filters
Depending on your image, you can also add Chroma Key for a virtual background, Crop/Pad to reframe yourself, or plugins like StreamFX for more advanced GPU-based effects. Tweak everything while watching the preview until your image looks noticeably better.
Fixing webcam flicker (the driver-level fix)
This is the part most OBS guides skip. If your image flickers or pulses under office lighting, LED panels, or fluorescent tubes, no OBS filter will fix it — the flicker comes from a mismatch between your camera’s exposure timing and the frequency of your mains power. The setting that fixes it lives in the webcam’s own driver, not in OBS.
Here is how to reach it:
- In OBS, right-click your Webcam source and choose Properties (or open the source and click it directly).
- Click Configure Video. This opens your webcam driver’s own settings window — not an OBS window.
- Go to the Advanced tab.
- Find the Anti Flicker section and select 50 Hz.
The right value depends on your region’s mains frequency. In Europe, mains power runs at 50 Hz, so 50 Hz (European) is the correct choice and clears the flicker. In North America, mains runs at 60 Hz, so pick 60 Hz (North America) instead.
While you are on the Advanced tab, this is also where you will find driver-level controls like Exposure, Gain, Image Mirror, and image enhancement options such as RightLight. These are separate from the OBS filters and are applied by the camera itself before OBS ever sees the image.
Step 4: Start the OBS virtual camera
Once your image looks good in OBS:
- In the bottom-right corner of OBS, click Start Virtual Camera.
- Your OBS-processed feed is now available system-wide as OBS Virtual Camera.
Leave OBS running while you use Teams — the virtual camera only exists while OBS is open.
Step 5: Select OBS virtual camera in Microsoft Teams
- Open Microsoft Teams.
- Click your profile picture, then go to Settings.
- Go to Devices.
- Under Camera, select OBS Virtual Camera — not your regular webcam.
Now, when you join a meeting and turn on your camera, Teams shows your enhanced OBS feed.
Step 6: If “OBS Virtual Camera” doesn’t appear in Teams
Sometimes Teams does not show the virtual camera straight away:
- Restart your PC.
- Make sure OBS is running and the virtual camera is started.
- If it still does not show, reinstall Teams: close it completely, uninstall via Settings → Apps, then download and install the latest version from Microsoft.
Why this works on any GPU
- NVIDIA Broadcast’s AI webcam enhancement requires an RTX card with Tensor Cores. Older or integrated GPUs cannot run it.
- OBS uses standard GPU and CPU processing, so it works on any graphics card — no Tensor Cores needed.
- The Sharpen and Color Correction filters give you a cleaner, sharper, more professional image without expensive hardware.
- The flicker fix happens in the camera driver itself, so it works regardless of which GPU you have.
Frequently asked questions
Do I have to keep OBS open during Teams calls?
Yes. The OBS Virtual Camera only exists while OBS Studio is running and the virtual camera is started. Close OBS and Teams loses the feed. You can minimise OBS to the system tray, but do not quit it.
Why is my webcam flickering, and which Anti Flicker setting do I pick?
Flicker comes from a mismatch between your camera’s exposure timing and your mains power frequency. Match the setting to your region: 50 Hz in Europe, 60 Hz in North America. The control is in your webcam driver’s Advanced tab, reached via Configure Video in OBS — not in the OBS filters.
Do I need an RTX graphics card for this?
No. NVIDIA Broadcast needs an RTX card, but OBS does not. This method runs on any GPU, including integrated graphics and older dedicated cards.
Does this work with apps other than Teams?
Yes. OBS Virtual Camera appears as a normal camera system-wide, so you can select it in Zoom, Google Meet, Discord, and most other video apps the same way.
Conclusion
Install OBS Studio, add your webcam as a Video Capture Device, and apply Sharpen and Color Correction to clean up the image. If it flickers, fix it at the driver level with the right Anti Flicker frequency for your region. Then start the OBS Virtual Camera and select it in Teams.
That is a sharper, cleaner, flicker-free webcam image in Teams — all for free, with no new hardware. It is ideal for anyone on Windows 11 who wants to look more professional on calls, especially if a new RTX card is not on the cards.
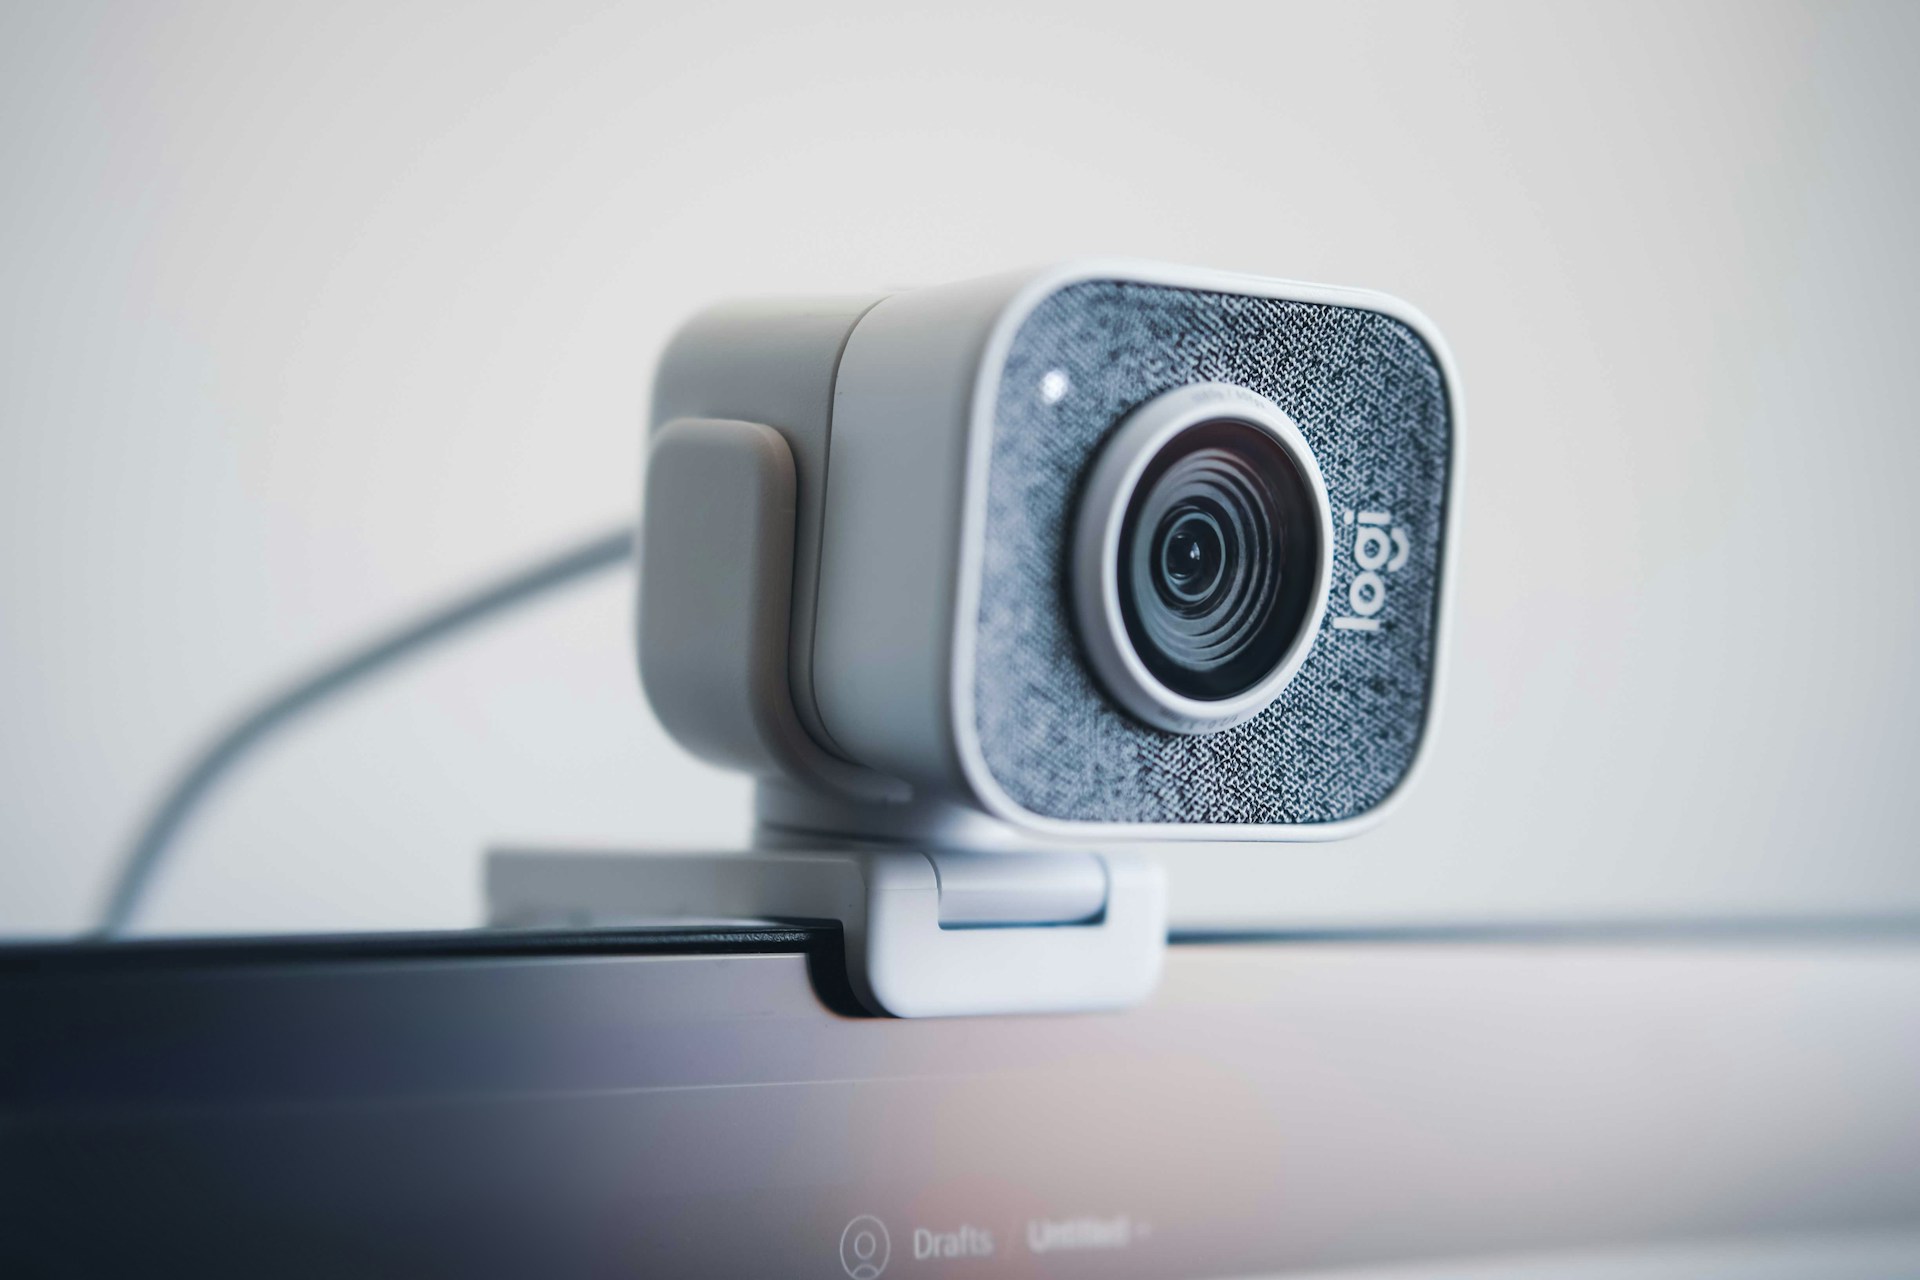
Featured image by Emiliano Cicero on Unsplash.

John Lock
Liked this? There's more where it came from.
Get our digest — articles worth your time, no spam, unsubscribe in one click.
Subscribe to Factnetize →