⚡ Key takeaways
- The Hermes Desktop installer is the recommended starting point on Windows — one click installs everything and gives you both the GUI and the full CLI.
- No admin rights required — everything goes into your user folder, nothing touches the system.
- Nous Portal gets a model running fast: one account, 300+ models, no separate API keys (a card is bound for verification, not charged).
- Two silent Windows traps — the Store python stub and the npm shim — are explained before they cost you time.
You’ve read about AI agents. Maybe you’ve seen demos of a tool that writes research reports, watches prices, reads your e-mail, and controls your smart home. Now you want to actually run one. This guide walks you through installing Hermes Agent — an open-source AI agent framework by Nous Research — on Windows 11, from zero to your first real conversation, in about 10 minutes.
What is Hermes Agent?
Hermes Agent is an open-source AI agent framework built by Nous Research. Unlike a chatbot, Hermes can actually do things: search the web, read and write files, run code, browse websites, send messages on Telegram, and run scheduled tasks while you sleep. It builds up a persistent memory of your preferences and environment, and can be extended with custom tools called MCP servers.
It runs natively on Windows 10 and 11 as a Tier 1 platform — meaning Windows-specific bugs get priority. The code is MIT-licensed, lives on GitHub, and your data stays on your own machine.
What you need before you start
Surprisingly little. The installer handles all dependencies automatically — you don’t need to install Python, Node.js, Git, or anything else yourself. All you need is a Windows 10 or 11 machine and an internet connection. No administrator rights required — everything goes into your user folder at %LOCALAPPDATA%\hermes\.
Step 1: Install and start Hermes
There are two ways to run Hermes on Windows. Pick the one that fits how you work — then follow that route from install to running. Both install the exact same underlying agent (same config, same memory, same skills); the only difference is whether you get the Desktop app.
| Route | What you get | Best for |
|---|---|---|
| A · Desktop app (recommended) | GUI app + full CLI, one click | Most users — easiest start |
| B · CLI only | Terminal only, no GUI | Terminal users, servers, automation |
Route A: Desktop app (recommended)
This is the path the official docs recommend on Windows. You get a polished GUI and the full command line in one install.
1. Download and run the installer. Go to hermes-agent.nousresearch.com, click Download, and run the .exe. It installs like any other Windows application — no admin rights needed.
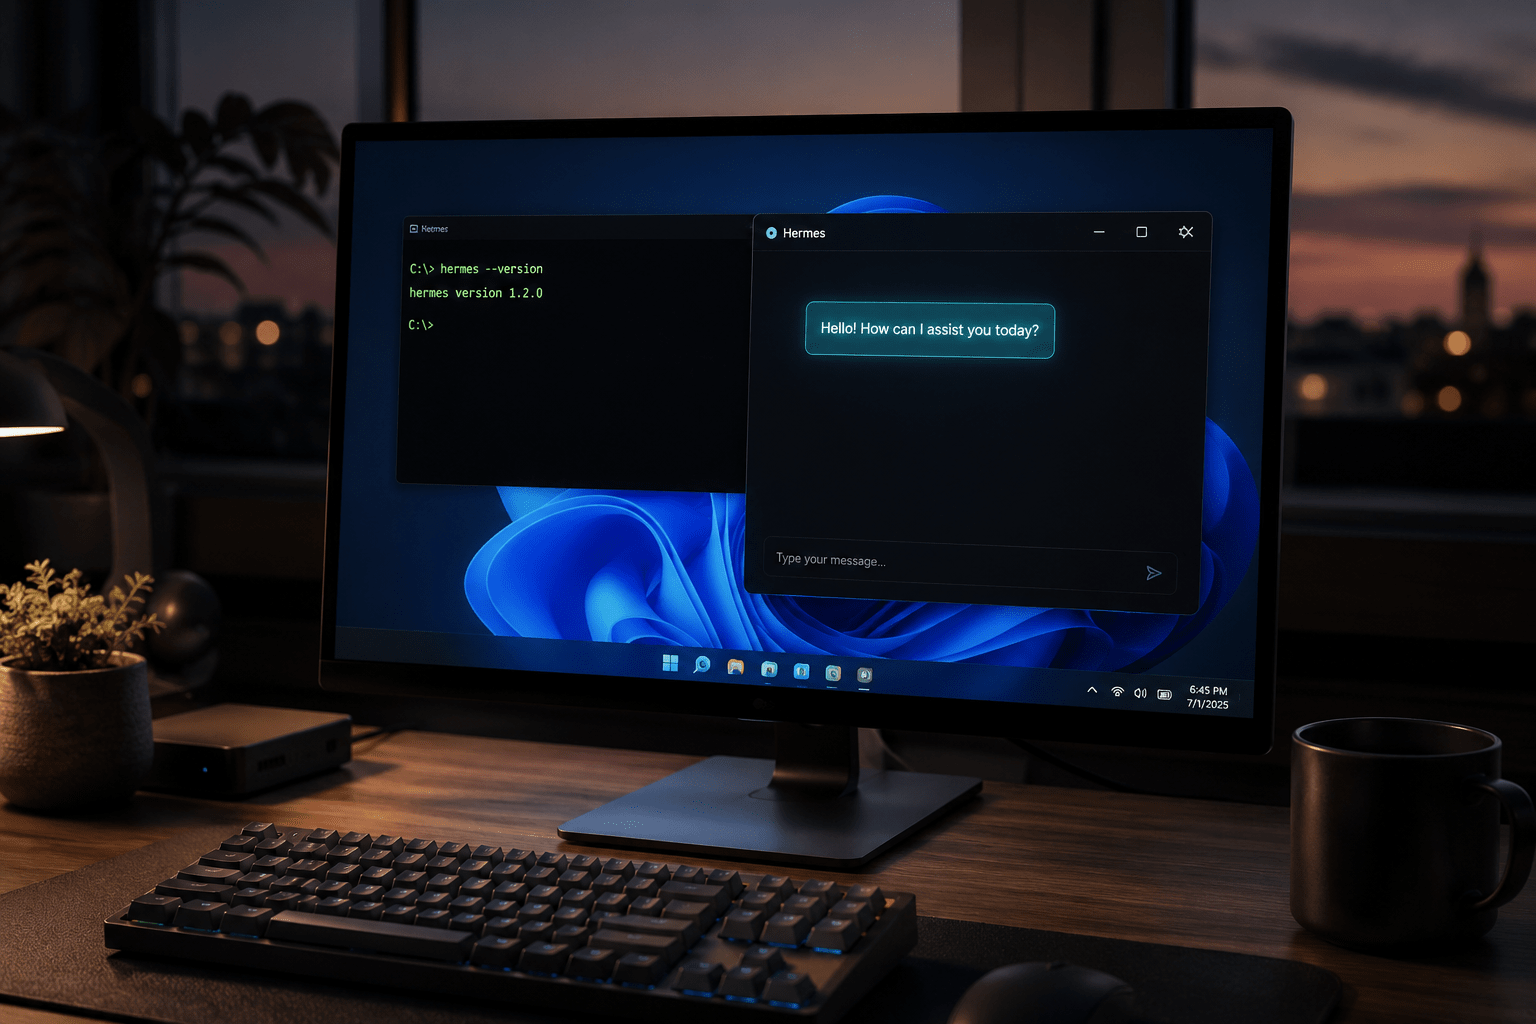
2. Open Hermes from the Start menu. Once the installer finishes, you’ll find Hermes in your Start menu. Launch it and the Desktop app opens — full markdown rendering, image previews, project workspaces, and a built-in browser panel.
3. You’re ready. The Desktop app is running. Skip ahead to Step 2 to connect a model.
The hermes command-line tool was installed alongside the app, so it’s available in any new terminal window whenever you want it — for automation, scheduled tasks, or SSH sessions. You don’t need it for normal use, but it’s there.
Route B: CLI only (no Desktop app)
If you’d rather work purely from the terminal — on a server, a headless box, or just by preference — skip the Desktop app entirely.
1. Run the install script. Open PowerShell and run:
iex (irm https://hermes-agent.nousresearch.com/install.ps1)
2. Open a new terminal and verify. The PATH update only applies to sessions opened after the install, so close PowerShell and open a fresh window, then check:
Get-Command hermes
hermes --version
3. Start Hermes. You have two terminal interfaces to choose from:
hermes         # the classic CLI
hermes --tui   # the modern TUI (recommended — cleaner layout)
The TUI (terminal user interface) shows the agent’s thinking, tool calls, and results in a clean, scrollable layout — it’s the nicer way to work in a terminal. Once it’s running, head to Step 2 to connect a model.
Want the Desktop app later?
You don’t need to reinstall. From an existing CLI install, just run hermes desktop and the GUI opens.
One thing to avoid on either route: don’t try pip install hermes-agent or uv tool install hermes-agent. These methods are not supported and won’t work.
What the installer actually does
Whichever route you took, the same things happened under the hood. Knowing this saves time when something goes wrong later.
The installer pulled in and configured:
- uv — a fast Python package manager, used to install and isolate Python itself
- Python 3.11 — installed via uv, entirely inside your user folder, no system Python touched
- Node.js v22 — bundled for browser automation and the WhatsApp bridge
- ripgrep — fast file search used by the terminal tool
- ffmpeg — audio conversion for text-to-speech features
- MinGit — a portable Git Bash, so Hermes can run shell commands on Windows exactly the way Claude Code does
Everything lives under %LOCALAPPDATA%\hermes\ — your config, your skills, your memories, your sessions. When you run hermes uninstall, the agent files are removed but your personal data stays intact.
Step 2: Choose your model
Hermes is the agent framework — it still needs an AI model to think with. Run the setup command in a terminal (or the Desktop app’s terminal panel):
hermes setup --portal
This opens a browser and takes you to Nous Portal, where you create an account. During signup you’ll be asked to link a credit card via Stripe — no charge is made, it’s a one-time verification step to activate the account. Once verified, your Free tier is active with $0.10 in monthly credits and access to the free model catalog.
💳 Credit card required at signup
Nous Portal asks for a card during account creation for identity verification via Stripe. No payment is taken. The card is only charged if you later upgrade to a paid plan.
After the browser flow completes, Hermes is configured and ready. You get access to 300+ models from providers like Anthropic, Google, Mistral, and Meta, plus the Tool Gateway for web search, image generation, and text-to-speech — all through one Nous Portal login, no separate API keys needed per service.
One technical requirement: your chosen model needs at least 64,000 tokens of context. Hermes checks this at startup and refuses to run with a smaller model. Every model on Nous Portal meets this. If you’d rather connect your own API key directly (OpenRouter, Anthropic, DeepSeek, and others are all supported), run hermes setup without --portal and follow the wizard. You can switch provider at any time with hermes model.
Step 3: Your first conversation
Your interface is open and your model is connected — however you got here, the next part is identical. Type your first message into the chat.
Try something that forces a real tool call. That’s the moment a chatbot becomes an agent:
What's the current exchange rate for EUR to USD?
Watch what happens: instead of guessing, Hermes calls a web search tool, fetches a live result, and gives you a sourced answer. That’s the “wow” moment — not a language model pattern-matching to a plausible answer, but an agent actually doing something.
A few more things worth trying in your first session to see different tools in action:
Summarize the README at github.com/NousResearch/hermes-agent— tests the web fetch toolWhat files are in my Documents folder?— tests the file system toolWrite a Python script that prints today's date and run it— tests code execution end-to-end
Each of these makes Hermes use a different tool. You’ll see the agent reason about which tool to call, call it, read the result, and respond. That loop — reason, act, observe, respond — is what makes it an agent rather than a chatbot.
Step 4: Run a health check
Before going further, run the built-in diagnostic:
hermes doctor
This checks your entire setup — model configuration, tool dependencies, file paths, browser availability — and tells you exactly what’s missing and how to fix it. If browser automation isn’t working (you’ll need it later in this series for web scraping), hermes doctor gives you the exact command to install the Chromium dependency. Run it now, fix anything it flags, and you’ll have a clean foundation for everything that follows.
Two Windows traps you’ll hit eventually
These aren’t hypothetical. They happened during the journey behind this series, and they’ll catch you if you don’t know about them in advance.
The Microsoft Store python stub
On a fresh Windows 11 machine, typing python in a terminal doesn’t run Python — it opens the Microsoft Store. This is an app execution alias Windows sets by default. It looks harmless until you try to run a Python script from a scheduled task: it fails silently, no error, no output, nothing. You lose twenty minutes before you figure out what happened.
The fix: never use python as a bare command in any script or automation. Always use the full absolute path to Hermes’ bundled Python:
C:\Users\YourUsername\AppData\Local\hermes\hermes-agent\venv\Scripts\python.exe
In normal Hermes chat sessions this is handled for you. It matters the moment you start writing your own scripts or scheduled tasks — which will happen once you get to the automation articles later in this series.
The npm shim
Hermes bundles its own Node.js, and there’s a known broken shim in the bundled node directory. If you ever run npm directly for a Hermes-related task and it fails with a mysterious error, skip the shim and call it by full path:
C:\Users\YourUsername\AppData\Local\hermes\node\npm.cmd install -g some-package
Most users never need to touch npm directly. But when installing certain MCP servers or community extensions, the documentation will tell you to run npm install, and it will fail. Now you know why.
Troubleshooting
| Problem | Fix |
|---|---|
hermes: command not found |
Close all terminal windows and open a fresh one. The PATH update only applies to new sessions opened after install. |
API key not set |
Run hermes setup --portal to connect via Nous Portal, or hermes model to configure a provider manually. |
| Browser tool not working | Run hermes doctor — it prints the exact Playwright command to install the Chromium dependency. |
| Garbled characters in the terminal | Use Windows Terminal instead of old cmd.exe. Check that HERMES_DISABLE_WINDOWS_UTF8 is not set. |
| PowerShell install fails with a parse error | The script downloaded with a UTF-8 BOM. Close PowerShell, open a fresh window, and run the install command again. |
| Config missing after an update | Run hermes config check followed by hermes config migrate. |
What’s next
You now have a working agent — one that can actually read files, run commands, and answer from real data. That’s the whole shift from chatbot to agent, and you’ve already crossed it.
In the next article, a quick map of Hermes Desktop — where every setting, panel, and control lives — so the articles that follow never leave you hunting for a menu. Read it once, and refer back when you need it. This article is part of the Agentic AI series.
If you run into anything during installation not covered above, the Nous Research Discord is the fastest place to get help.

John Lock
Liked this? There's more where it came from.
Get our digest — articles worth your time, no spam, unsubscribe in one click.
Subscribe to Factnetize →